The three tabs
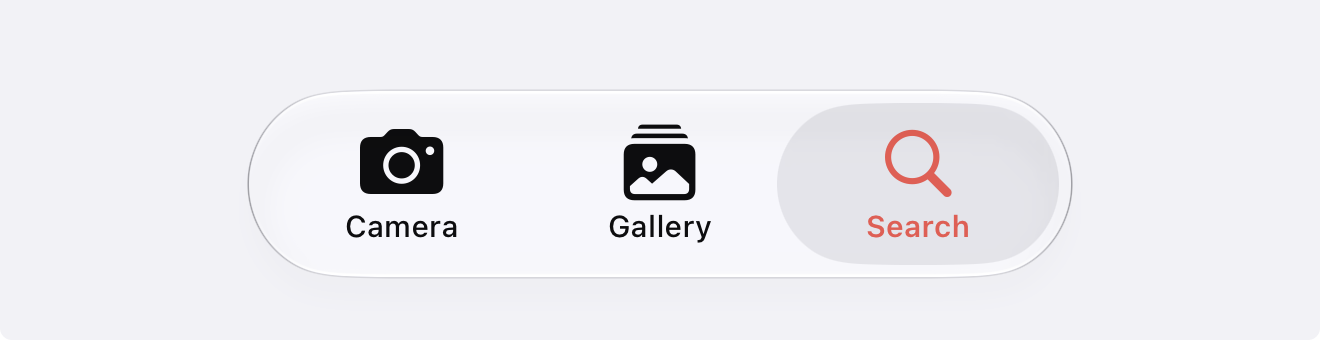
The app has three tabs along the bottom. Settings opens with the gear icon from the Camera or Gallery screen.
Camera
Take photos and video. Save instantly, or file them as you shoot.
Gallery
Browse everything. Two views: All (every photo) and Stacks (your projects).
Search
Find any photo by note, tag, stack, or custom field — with filters.
Taking photos & video
Take a quick photo (Rapid Mode)
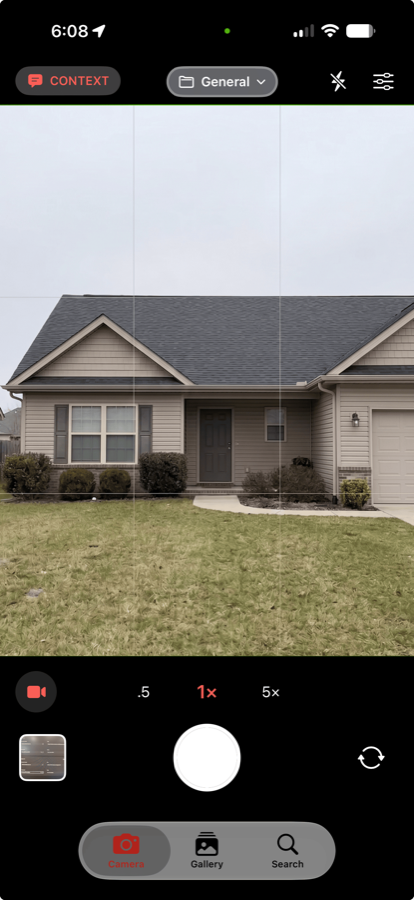
- Open the Camera tab.
- Make sure the mode is set to Rapid.
- Tap the shutter. The photo saves straight to your library — no prompts. Keep tapping to shoot as fast as you like.
File a photo as you shoot (Context Mode)
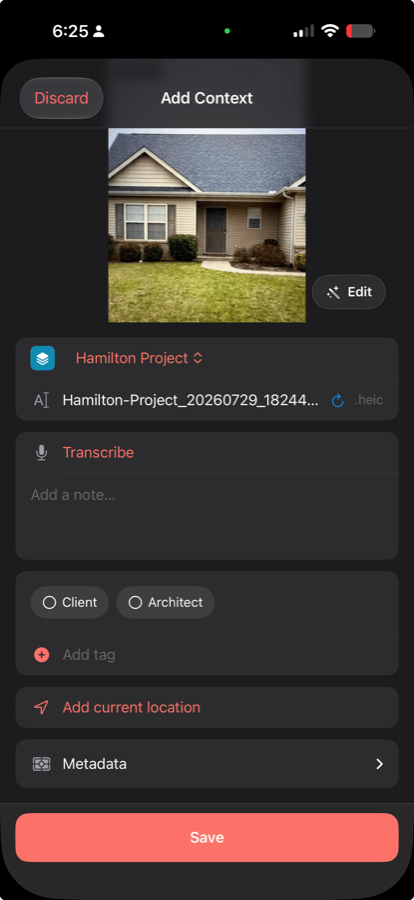
- Switch the mode to Context.
- Tap the shutter — a context card appears the moment the photo is taken.
- Assign a stack, add tags and a note, then save. The photo is filed with everything already attached.

Record video
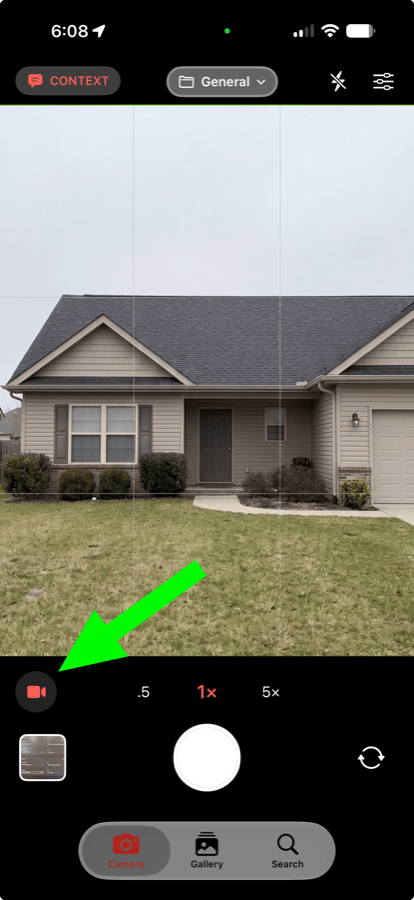
- Tap the video icon next to the shutter to switch to video mode.
- Tap the shutter to start recording; tap again to stop.
- Tap the camera icon to switch back to photos.
Camera overlays & tools
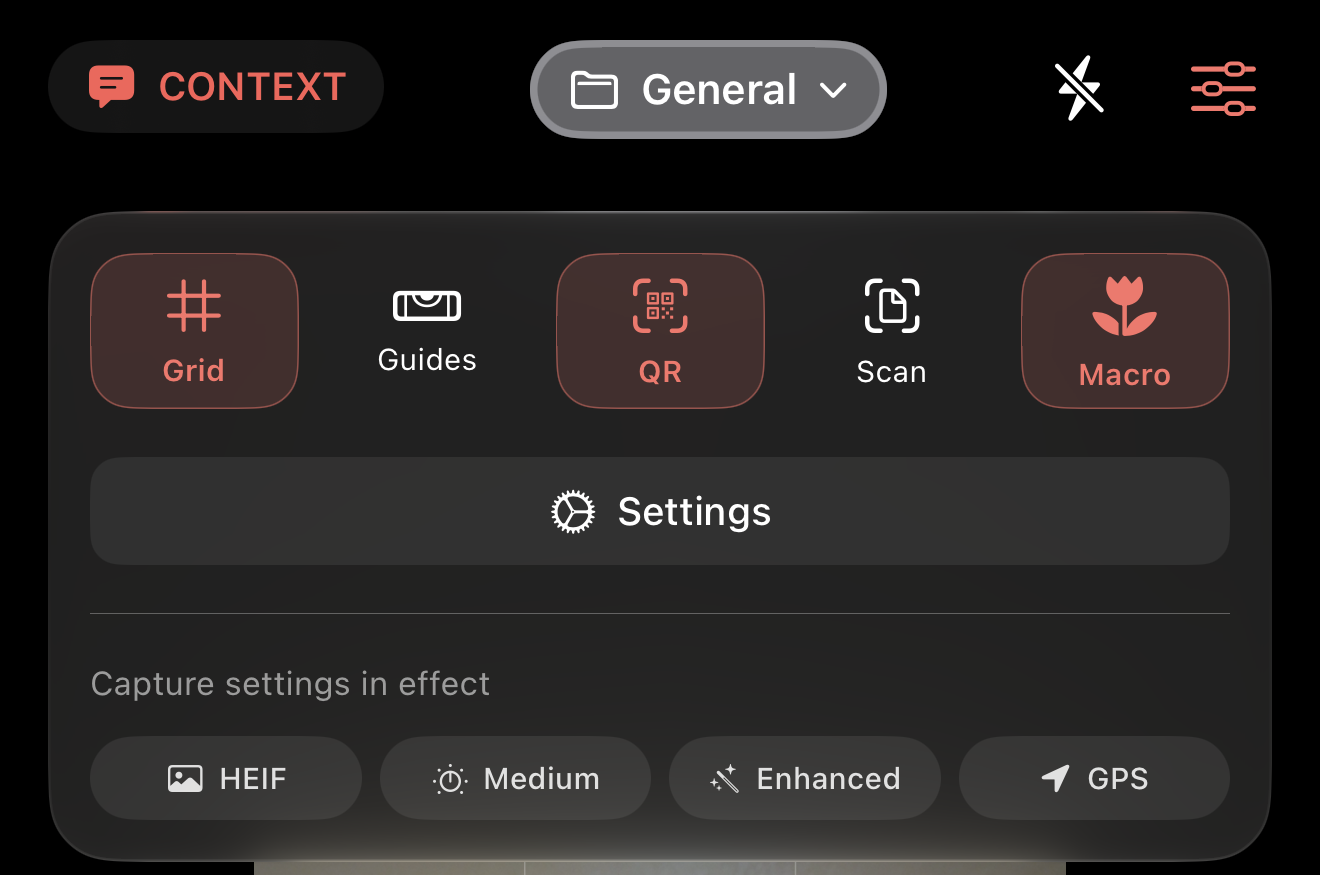
Tap the sliders button near the shutter to open the quick-control tray:
| Grid | Rule-of-thirds guide lines for composition. |
| Level & Compass | On-screen level and heading, so shots are square and you can record which way you were facing. |
| QR | Scan a QR code straight from the camera overlay. |
| Document Scan | Detects document edges live. Turn on Auto Capture in Settings to fire the shutter automatically once a document is steadily framed. |
Sorting into stacks
A stack is a project — a job, a site, a topic. Every photo lives in exactly one stack (new captures land in General until you move them).
Browse your library
- Open the Gallery tab.
- Swipe between All (every photo, grouped by date) and Stacks (your projects).
- Tap any photo to open it full screen. Badges show which photos have markup or edits.
Create a stack
- On the Stacks view, tap New Stack.
- Give it a name. Open its settings any time to add tags, custom fields, a watermark, and metadata options.
Move several photos at once
- Tap Select, then tap the photos you want (or drag to sweep-select a range).
- Use the action bar to assign a stack, add tags, compare, export, or delete.
Notes, markup & tags
Open a photo full screen to enrich it. Everything you add here is searchable.
Mark up a photo
- Open the photo and tap Markup (it reads Markup Again if the photo already has edits).
- Use the tools: draw (pencil), crop, stickers, text, mosaic (blur), and adjust (brightness, contrast, saturation).
- Save. The annotated version is kept alongside the original.
Add notes — type or dictate
- Open the photo's notes field and type, or tap the microphone to dictate.
- Dictation transcribes your speech to text as you talk. Tap the mic again to stop.
Tags
Add tags to any photo to label and filter across every stack. Manage your full tag list in Settings → Tags.
Custom fields
Custom fields capture structured info per stack — think Room #, Job Code, or Status. All values are searchable.
Set up a field
- Open a stack's settings and add a custom field.
- Choose a type: Text or Multiple Choice (a pick-list of options you define).
- Optionally mark it Required so it must be filled when filing a photo.
Finding photos
- Open the Search tab and type any word — it matches across notes, tags, stack names, and custom field values.
- Narrow the results with filter chips: stack, tag, date range, media type, location, and note/markup presence.
- Tap a result to open it full screen.
Compare & Replicate
Compare two photos
- Open a photo full screen and choose Compare with… from its menu (or select two photos in the Gallery and tap Compare).
- Pick the second photo. They're shown side by side with labeled banners — ideal for before/after.
Replicate a shot Premium
- Open a photo full screen and choose Replicate from its menu.
- The camera opens with on-screen guides for the original's framing, level, and position. Line up until it reads Aligned, then capture.
Settings
Open Settings with the gear icon from the Camera or Gallery screen.
| Setting | What it does |
|---|---|
| Capture Quality | Sets photo and video quality together. Photos save as HEIC, videos as H.264. |
| Enhanced Processing | Uses Apple's computational photography (Deep Fusion, Smart HDR, Night Mode). Turn off for faster captures. |
| Document Scanning | Enable edge detection and optional Auto Capture. |
| Keep Selected Stack | Remembers your last stack so new photos keep landing there. |
| Level & Compass | Configure the on-screen level and compass overlay. |
| Photo Watermark | Bake a logo/brand watermark onto new photos (set per stack). |
| Metadata Overlay | Bake location and capture metadata onto new photos (set per stack). |
| Filename Format Premium | Design exactly how each photo and video is named. |
| Default View | Choose whether Gallery opens on All or Stacks. |
| Timeline View / Stacks Layout | Grid or list options for browsing. |
| Tags | Manage your full tag list. |
| Appearance | Match the system theme, or force Light / Dark. |
| Replay Feature Walkthrough | Bring back the first-run tips on the Camera, Gallery, and stack screens. |
Privacy
Master Camera keeps your work entirely on your device. There's no account to create, no cloud sync, and no third-party servers — no data collection.
Requirements
iPhone and iPad running iOS 17 or later.